This post continues series on git bisect command. Previously, we’ve learned how Git helps to find a commit which introduced failing tests. Now, I’d like to show how an IDE can simplify a process by hiding complexity behind literally one button. We’ll need the same example projects (one, two) we’ve used before. A plugin we’re going to examine in this post works with any JetBrains’ IDE (Git plugin has to be enabled, though). I’ll continue using IntelliJ IDEA as the demo projects are written in Java.
The primary goal of this post is to serve as a documentation for git bisect run plugin. I believe that one of the best documentation forms is a tutorial. That’s why we’ll go step by step through the whole process. Let’s begin with preparations.
Prerequisites Link to heading
-
Download and install IntelliJ IDEA; Community edition would be enough.
-
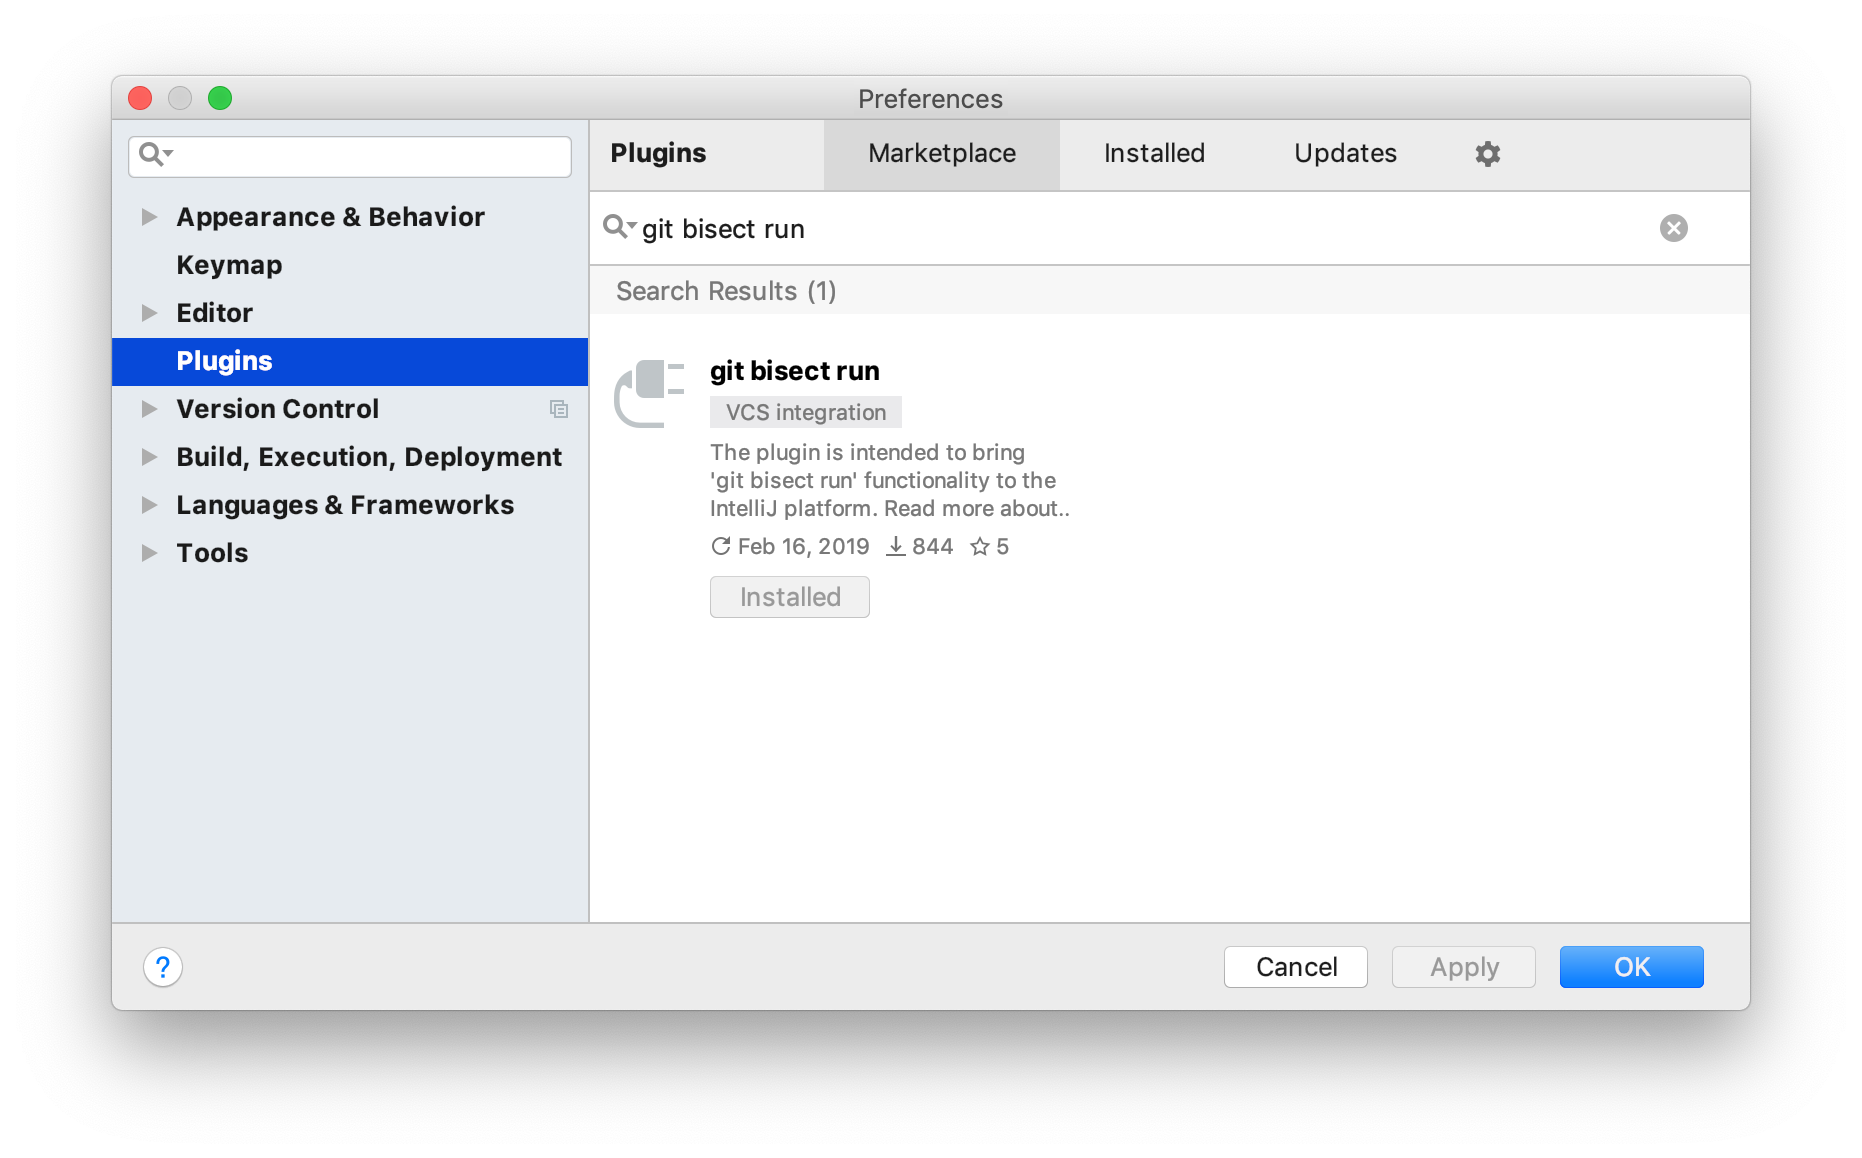
Go to Preferences | Plugins | Marketplace, search for git bisect run, and install the plugin. Keep in mind that it requires Git Integration to be enabled.
-
Invoke Check out from Version Control | Git and use the following URL
https://github.com/artspb/git-bisect-example-projectto download and open an example project.
We’re now ready to start using the plugin.
Preparation Link to heading
As the plugin uses git bisect command under the hood, it requires the same input namely initial revisions and a run configuration.
We’ve briefly touched a topic of finding bad/good revisions in one of the previous posts. Generally, the topic is rather simple but has some pitfalls thus requires a separate blog post. Let’s consider for now that the sought commit is somewhere in between master and master~6.
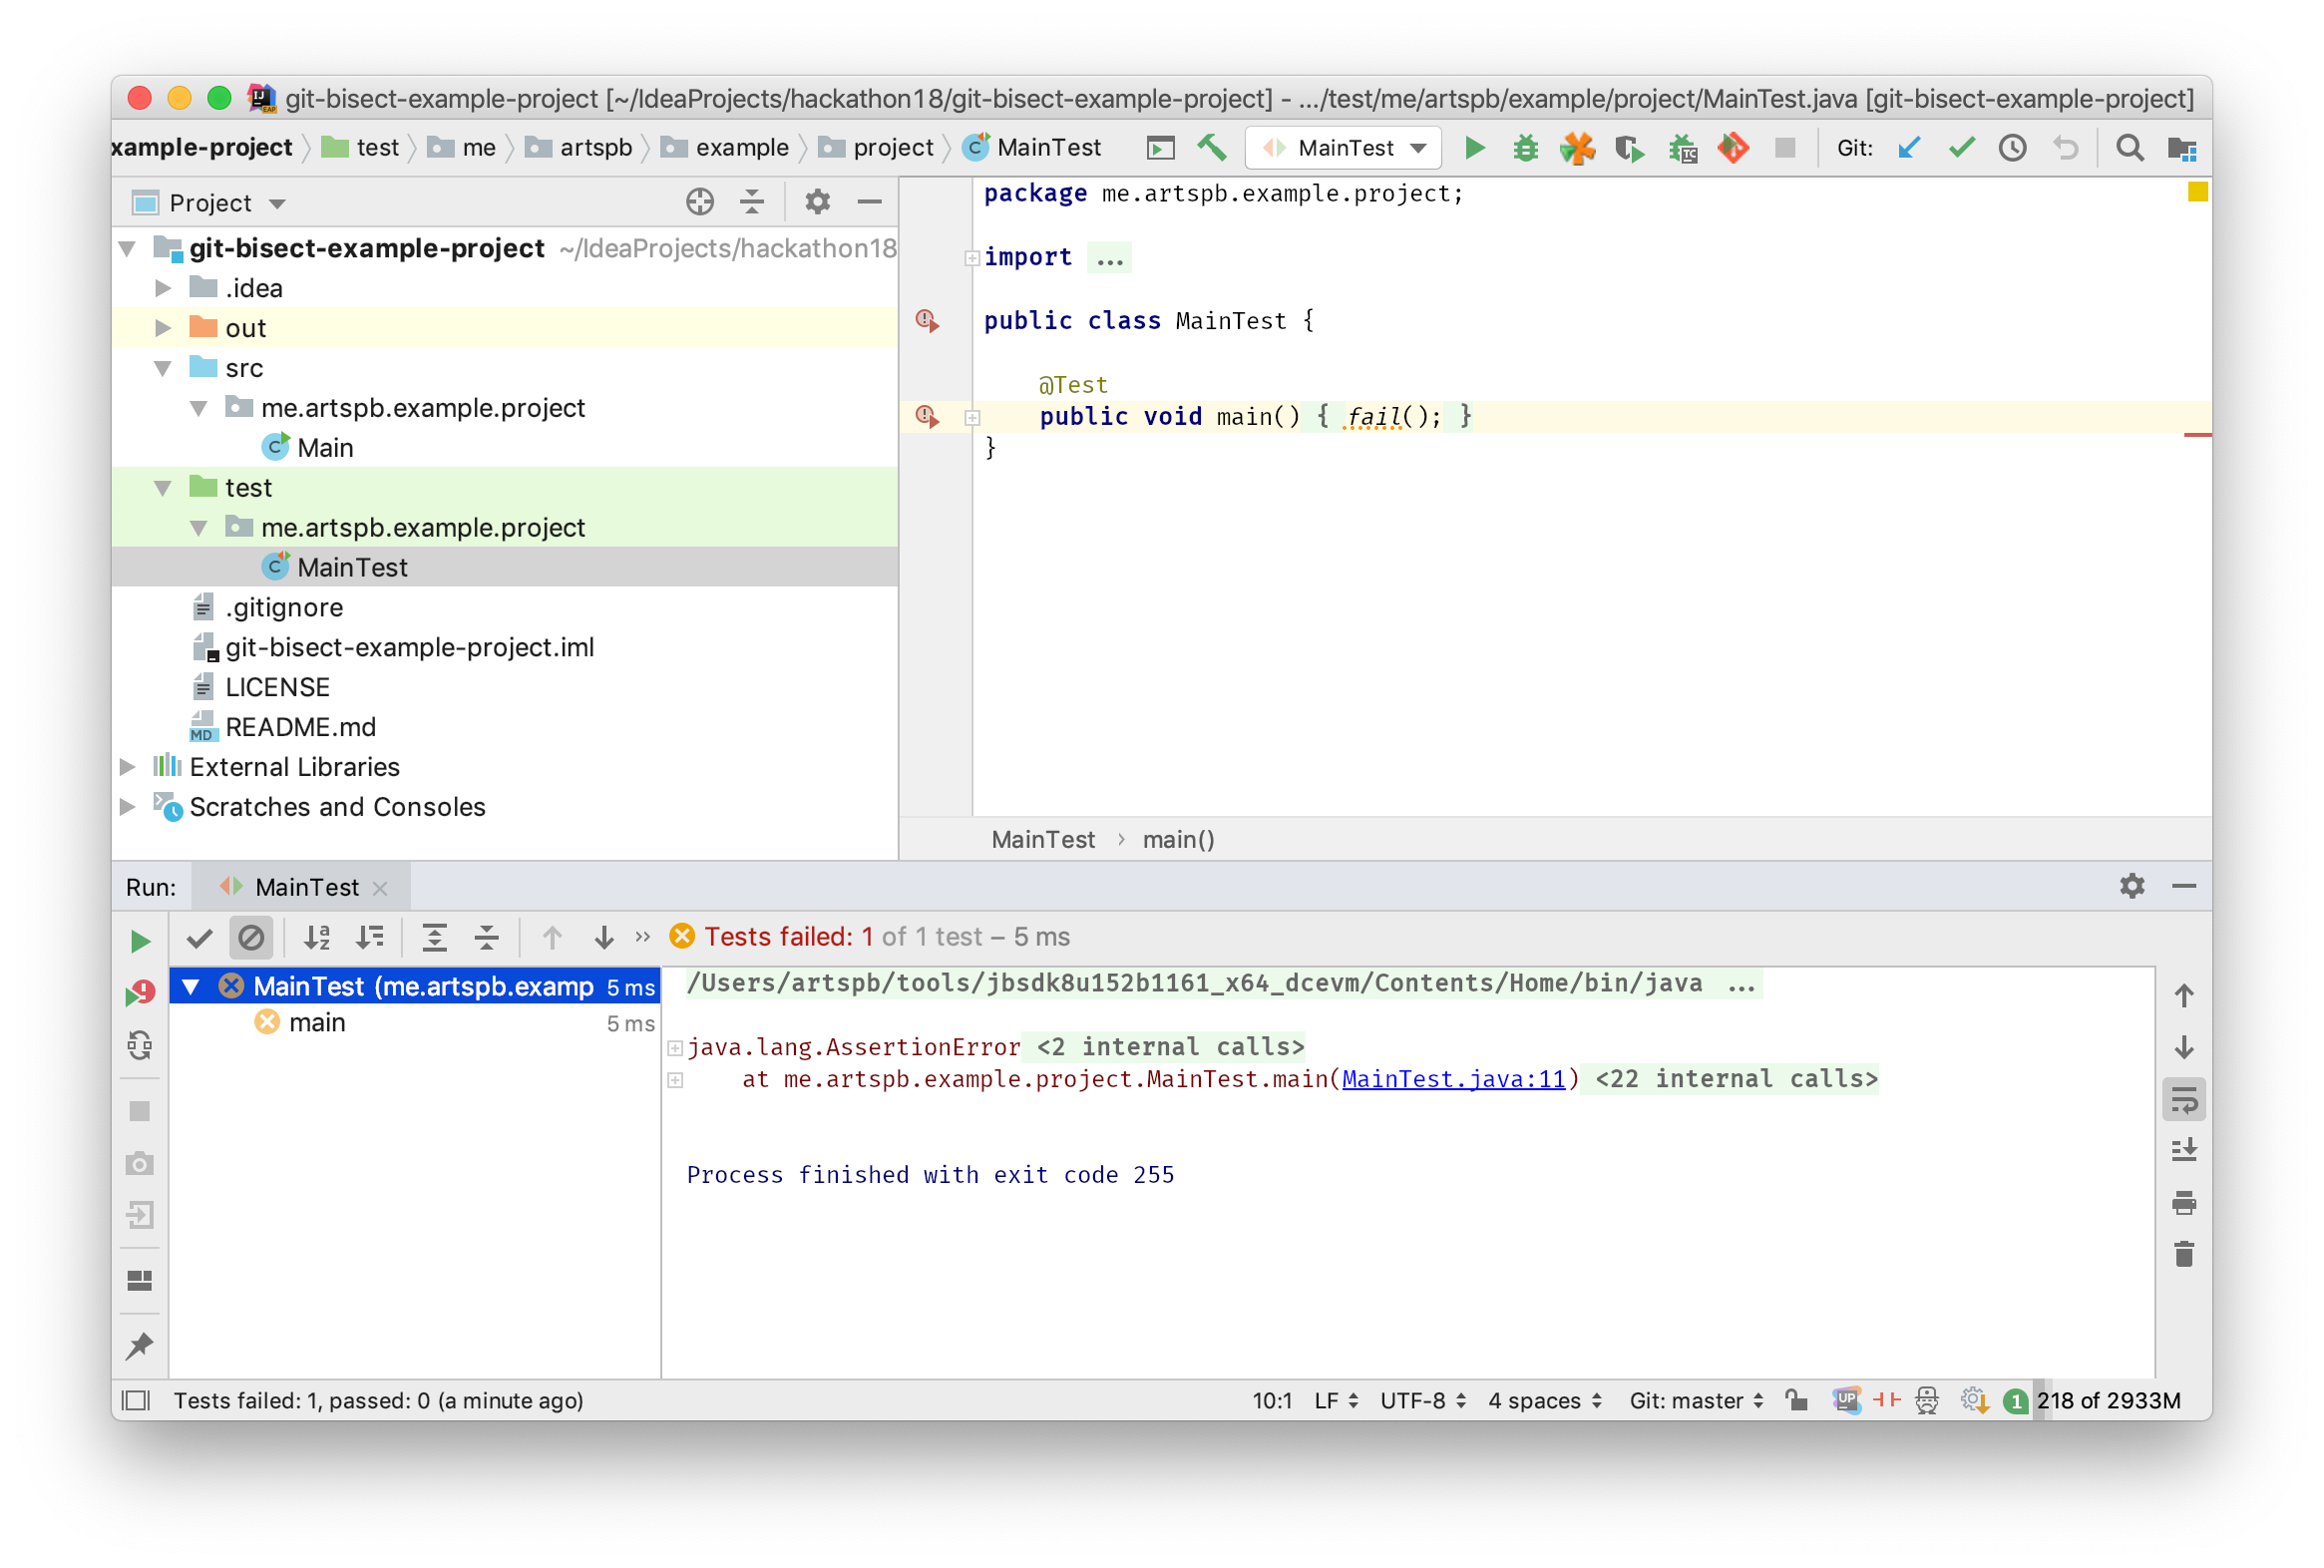
The easiest way of creating a run configuration is simply running a test which is MainTest in our case. When you’ve done it, your IDE should look like this which means that we’re ready to start bisecting.
Bisecting Link to heading
-
Find a toolbar and click on a Git icon with the run symbol. Note that the proper run configuration should be selected (
MainTestin our case).
-
Enter bad (
master) and good (master~6) revisions, ignore the rest for now.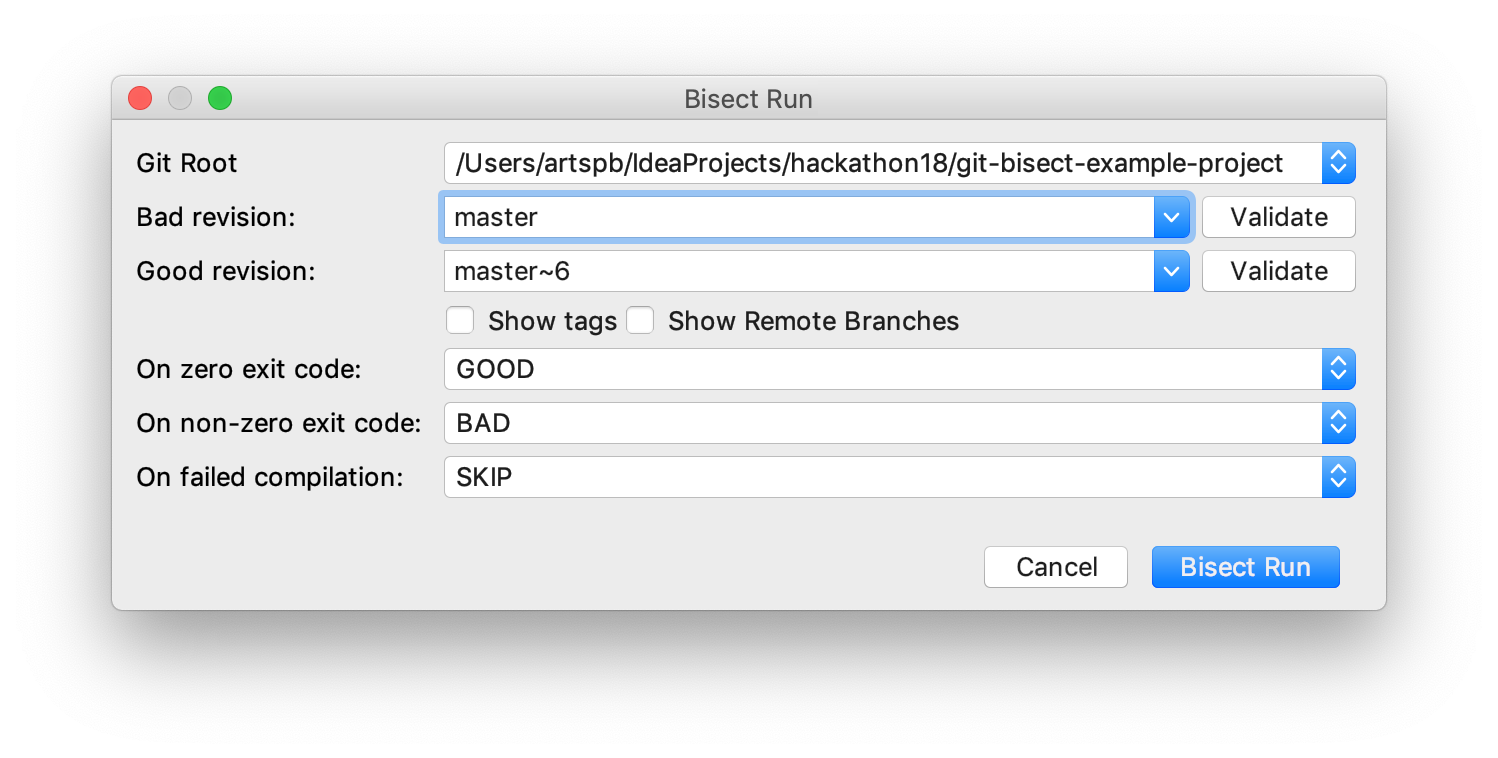
-
Click Bisect Run.
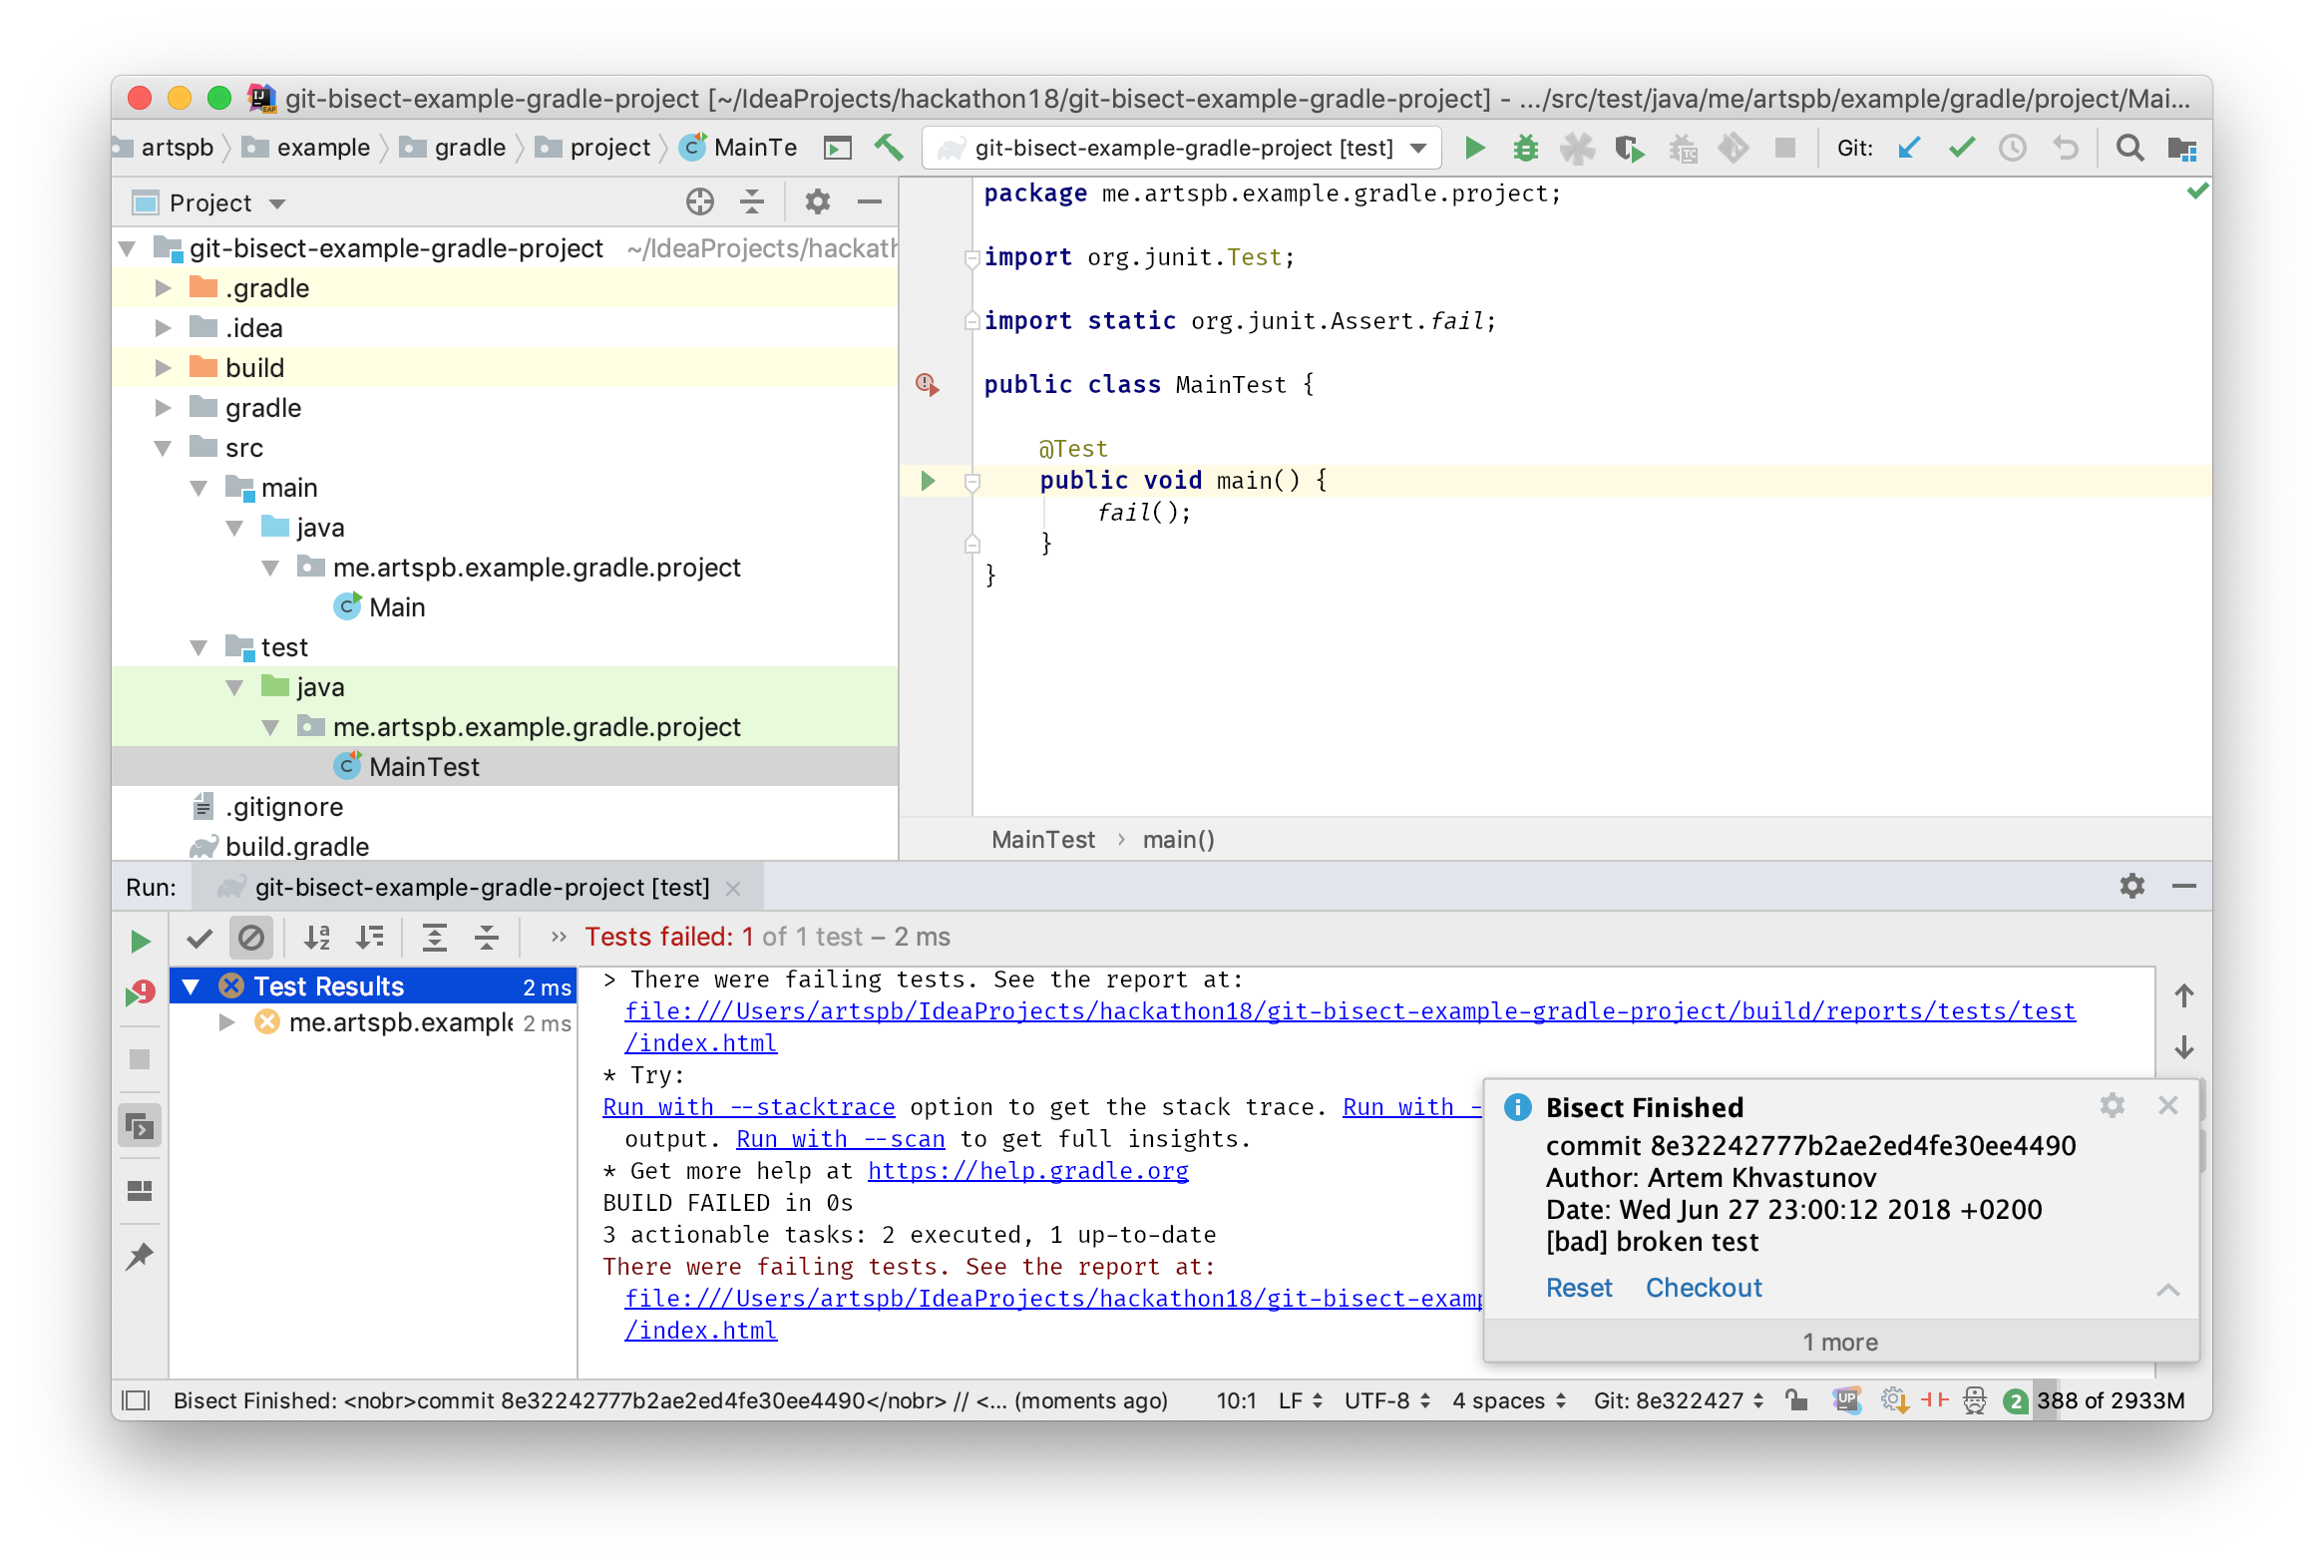
This is when the magic starts to happen. The plugin emulates git bisect run behavior by running appropriate Git commands depending on test invocation results. It basically performs the same actions we had to perform manually before. When the plugin finishes its work, we see familiar text in a pop-up.
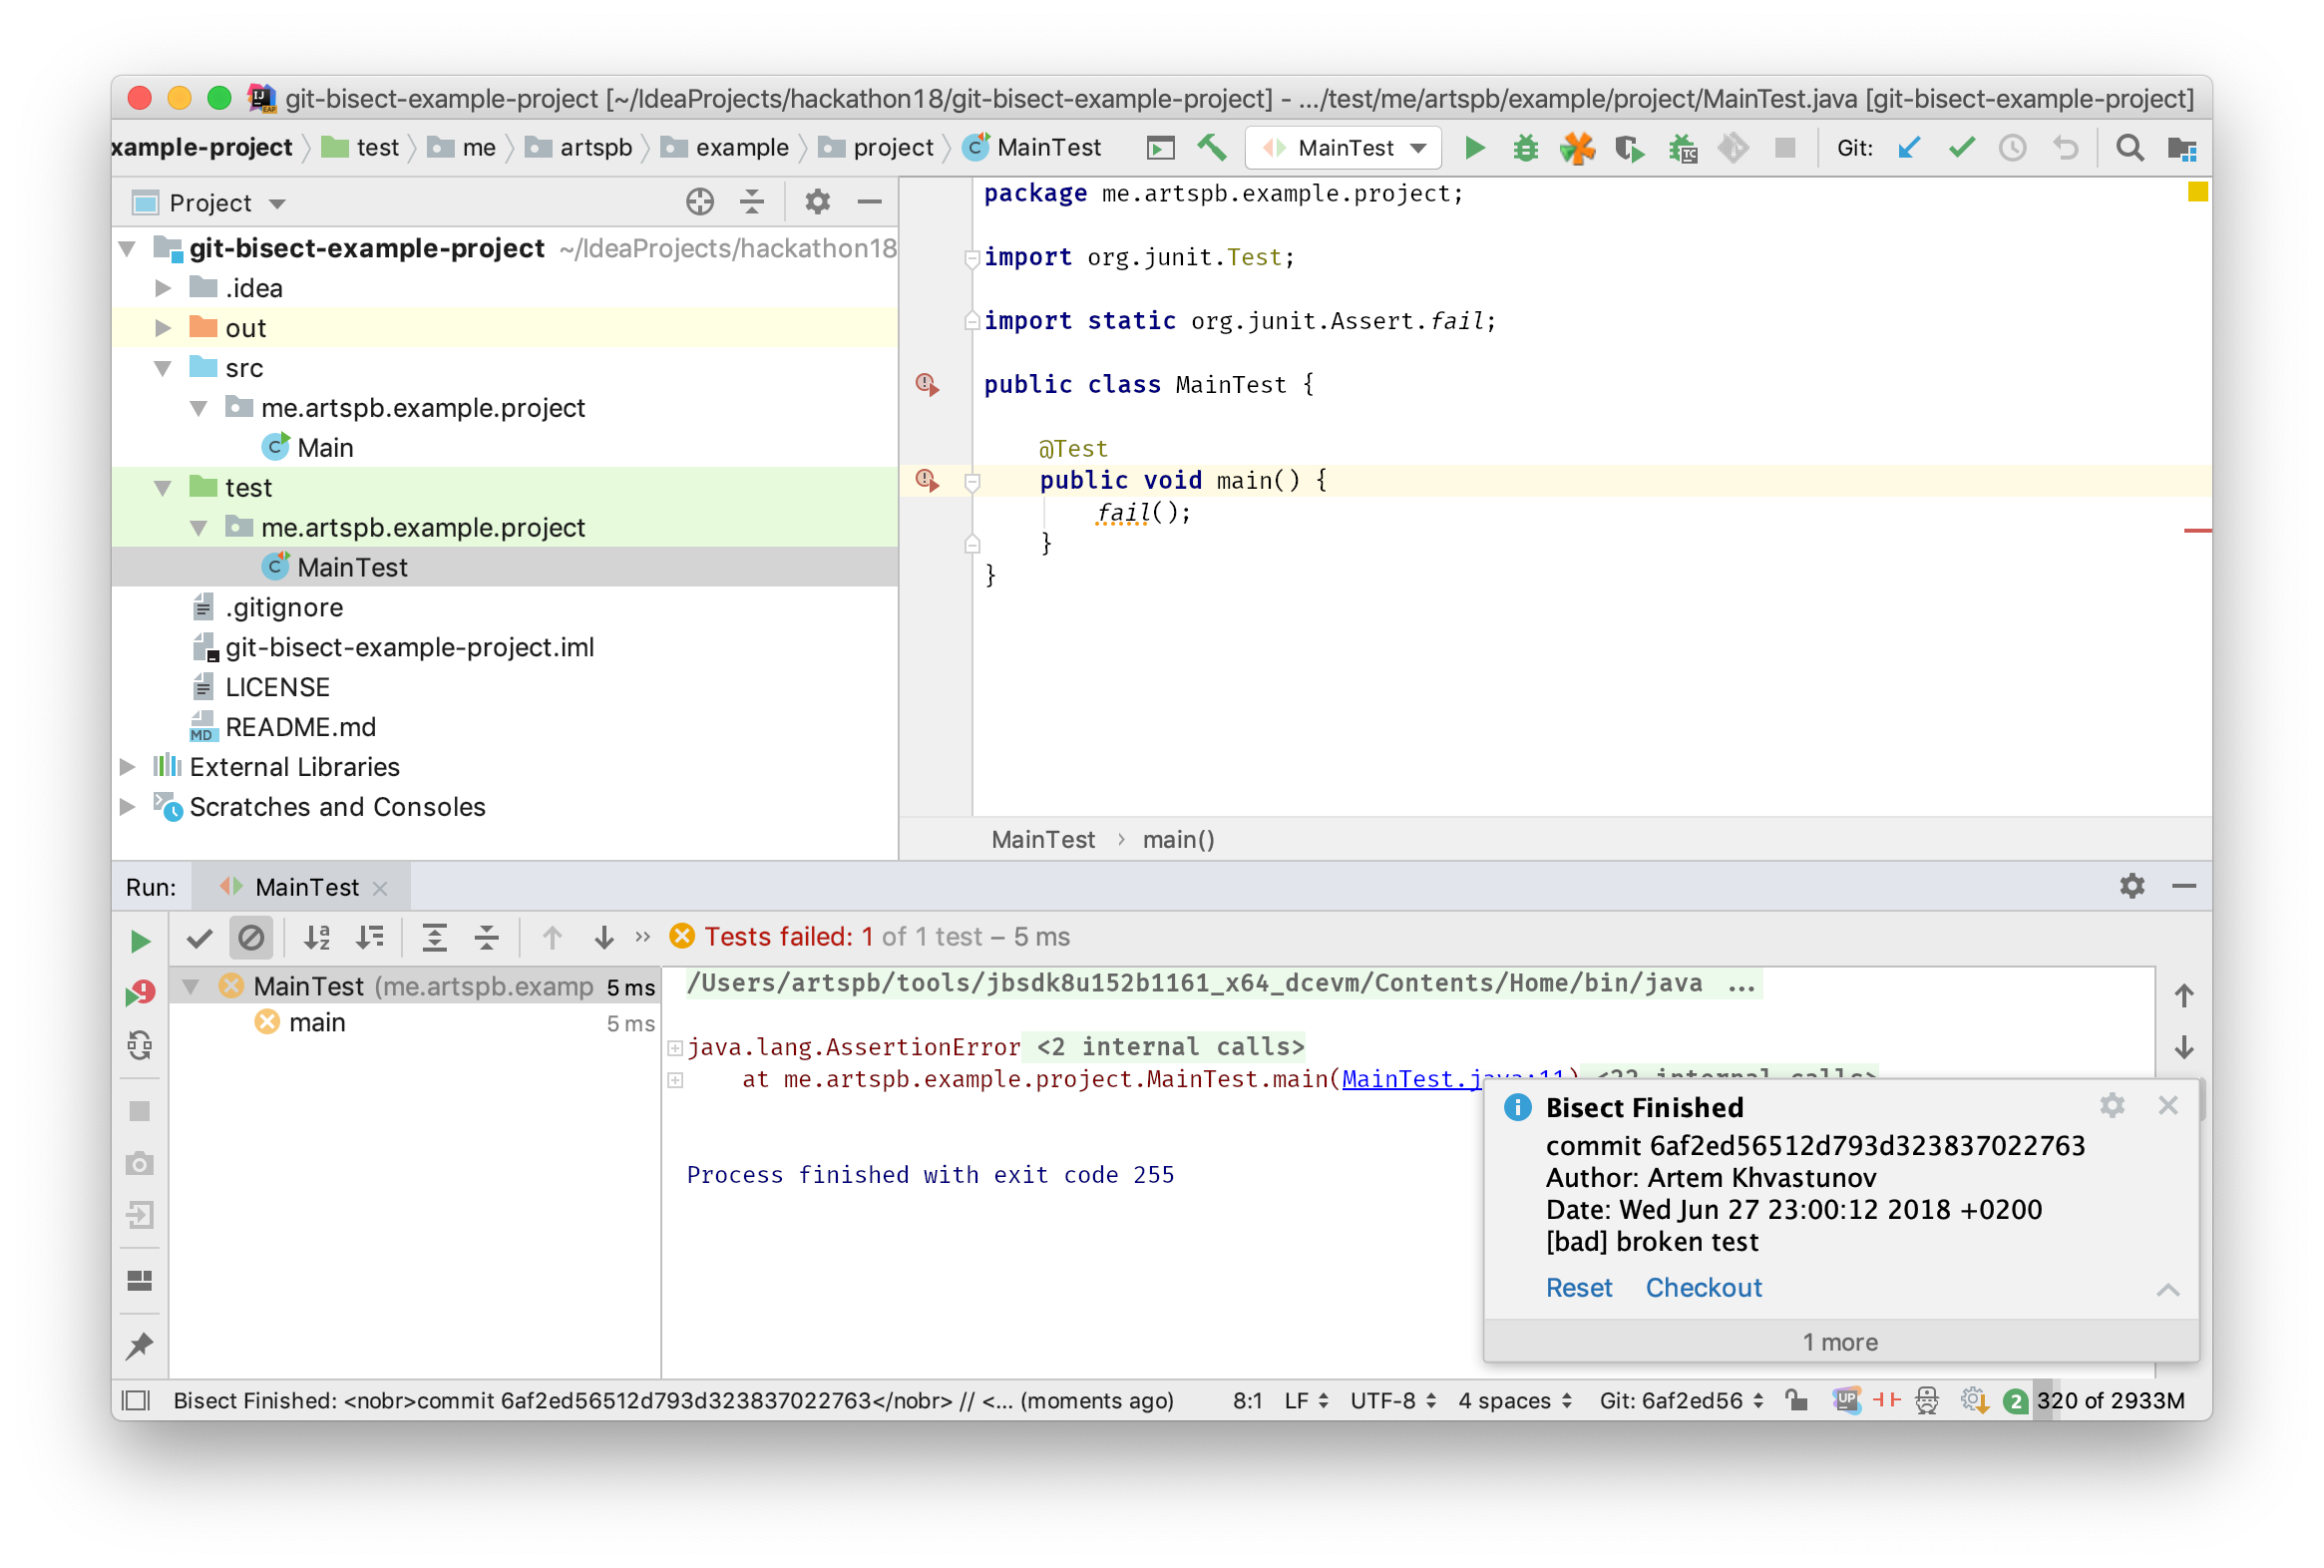
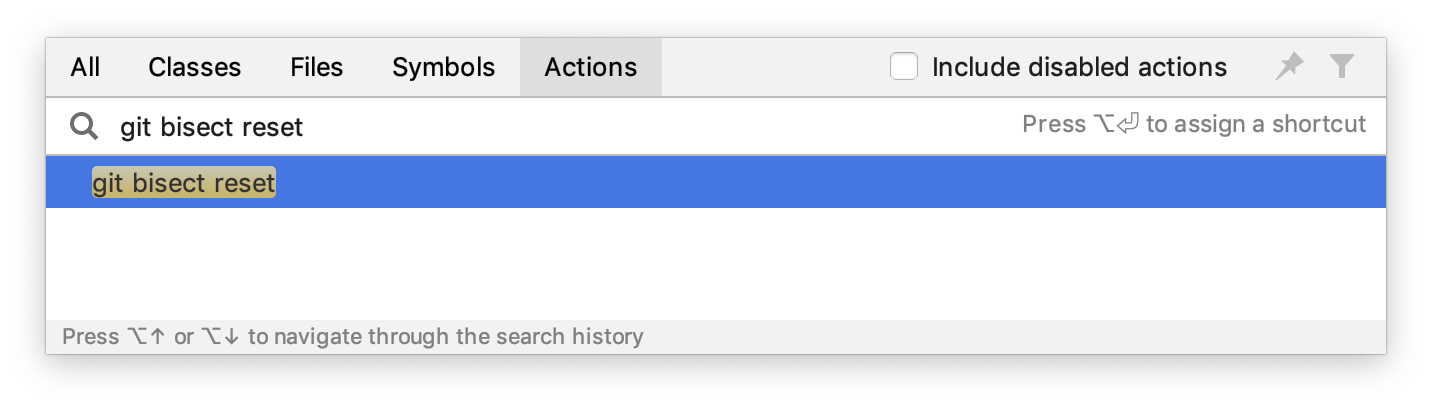
That was it. We now know the cause of the failing test and can either check out a corresponding revision or reset the IDE to its initial state. Also, keep in mind that git bisect reset action is always available via Find Action (⌘+Shift+A) so you can use it whenever something goes wrong.
Moreover, there’s one more thing. You probably remember from the previous post that we have a similar example project which uses Gradle to run tests. No surprise, git bisect run plugin works with Gradle tasks as well (test in this case).
Conclusion Link to heading
In this post, we’ve learned how to use git bisect run plugin in a basic case. However, there are more sophisticated scenarios like manual testing and multi-repo projects. They are to be covered in future posts.
As usual, feel free to comment here or on Twitter with your questions and suggestions. I’m also curious how does the plugin work for you with other languages, e.g., Python or Go? Share your experience.
Finally, here's the post on my hackathon project - git bisect run plugin. It's language-agnostic thus works with all JetBrains' IDEs ;) https://t.co/65oCkZSYBA
— Artem Khvastunov (@art_spb) March 28, 2019